How to remove water marks from wood furniture usually comes down to one thing: figuring out whether you’re dealing with a white haze in the finish or a darker stain that reached the wood, then picking a method that matches your table’s finish.
Water rings feel like a small problem until they show up on a dining table, coffee table, or nightstand you look at every day, and then you start wondering if you just ruined the surface. The good news is many marks are fixable at home, especially the pale, cloudy ones.
This guide walks you through quick identification, a practical method-by-method decision table, step-by-step fixes, and a few “please don’t do this” cautions that save finishes from getting worse.
What water marks really are (and why color matters)
Most “water marks” are not the same problem. The color gives you the best clue about where the moisture went and how aggressive you should be.
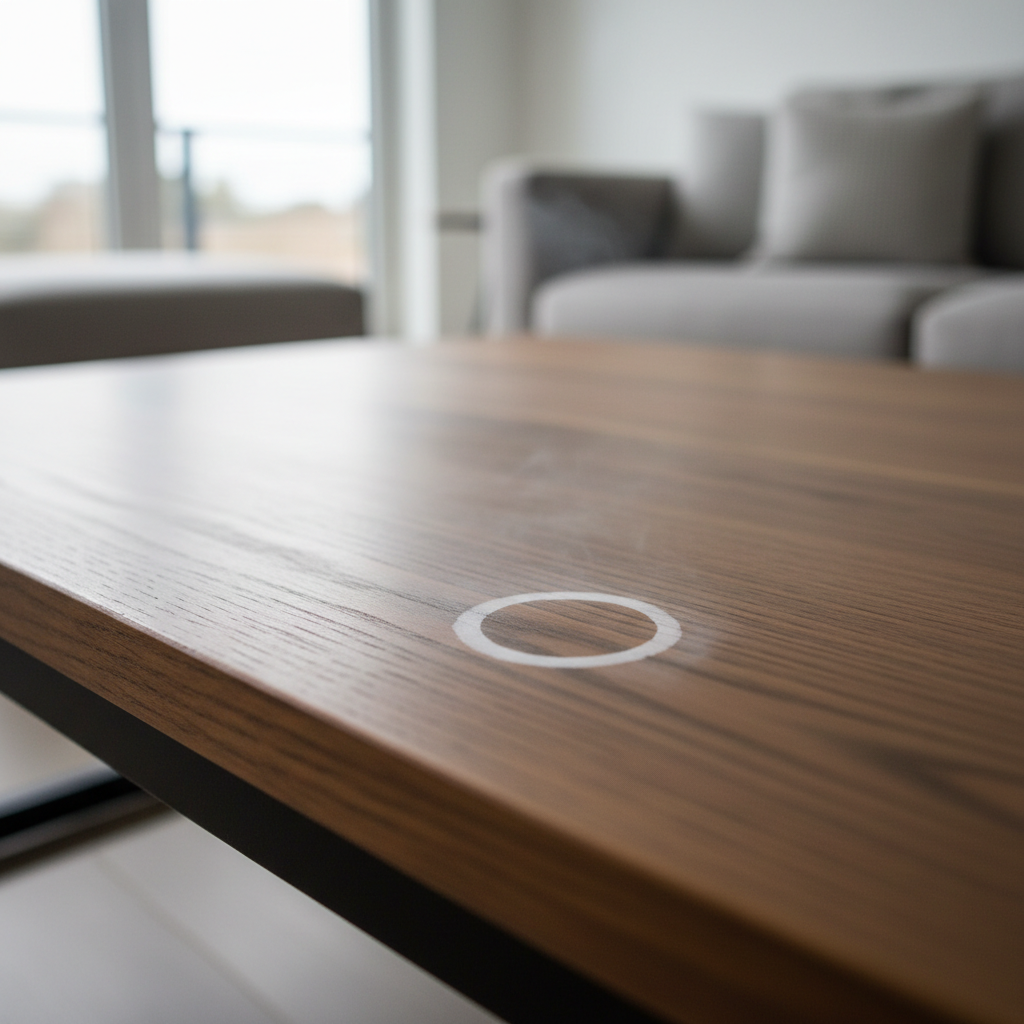
- White or cloudy rings: moisture trapped in the topcoat or finish, common on lacquer, shellac, and some varnishes. These are often the easiest to improve.
- Dark or black marks: water reached bare wood or reacted with tannins, often on oak, walnut, and other tannin-rich woods. These can take more work and sometimes refinishing.
- Raised grain or roughness: water swelled the fibers, usually means the finish barrier was compromised.
According to the USDA Forest Service, wood is hygroscopic, meaning it absorbs and releases moisture depending on conditions. That behavior is why a “simple spill” can show up as haze, swelling, or discoloration.
Quick self-check: identify your finish and the stain type
Before you try any fix, do two quick checks. This is where most DIY attempts go sideways, not because the method is wrong, but because the finish isn’t what you assumed.
1) Find the stain category
- If it looks milky, cloudy, or pale and you can’t feel it with your fingernail, treat it like finish haze.
- If it’s brown/black and seems “in” the wood, treat it like a deep stain.
- If the surface feels ripples or fuzz, plan on gentle smoothing after you address color.
2) Guess the finish (without turning it into a chemistry project)
- Modern factory furniture is often polyurethane or a catalyzed finish, tougher and less reactive.
- Older pieces may be shellac or lacquer, which can blush (turn cloudy) from moisture.
- If you’re unsure, do a tiny spot test on the underside or inside edge with your chosen method.
If the piece is valuable, antique, or sentimental, it’s reasonable to slow down here. A small test area tells you more than any internet checklist.
Best method for your situation (use this table first)
Use the table as a shortcut. Start with the least aggressive option that matches what you see.
| What you see | Likely issue | Start with | Avoid |
|---|---|---|---|
| White ring or cloudy patch | Moisture trapped in finish | Gentle heat (hair dryer), then polish | Strong solvents, heavy sanding |
| Sticky feel, soft finish | Finish partially dissolved | Let dry 24–48 hours, then mild polish | More heat, alcohol/acetone |
| Dark spot or black ring | Stain in wood / tannin reaction | Oxalic acid wood bleach (spot treat) | Random “oil fixes” that mask color |
| Rough, raised grain | Swollen fibers | Dry fully, then very light abrasion + refinish touch-up | Rubbing hard with abrasive pads |
Step-by-step: remove white water marks (finish haze)
If your main goal is how to remove water marks from wood furniture that look white or cloudy, start here. These methods aim to release trapped moisture without stripping the finish.
Method A: hair dryer (controlled heat)
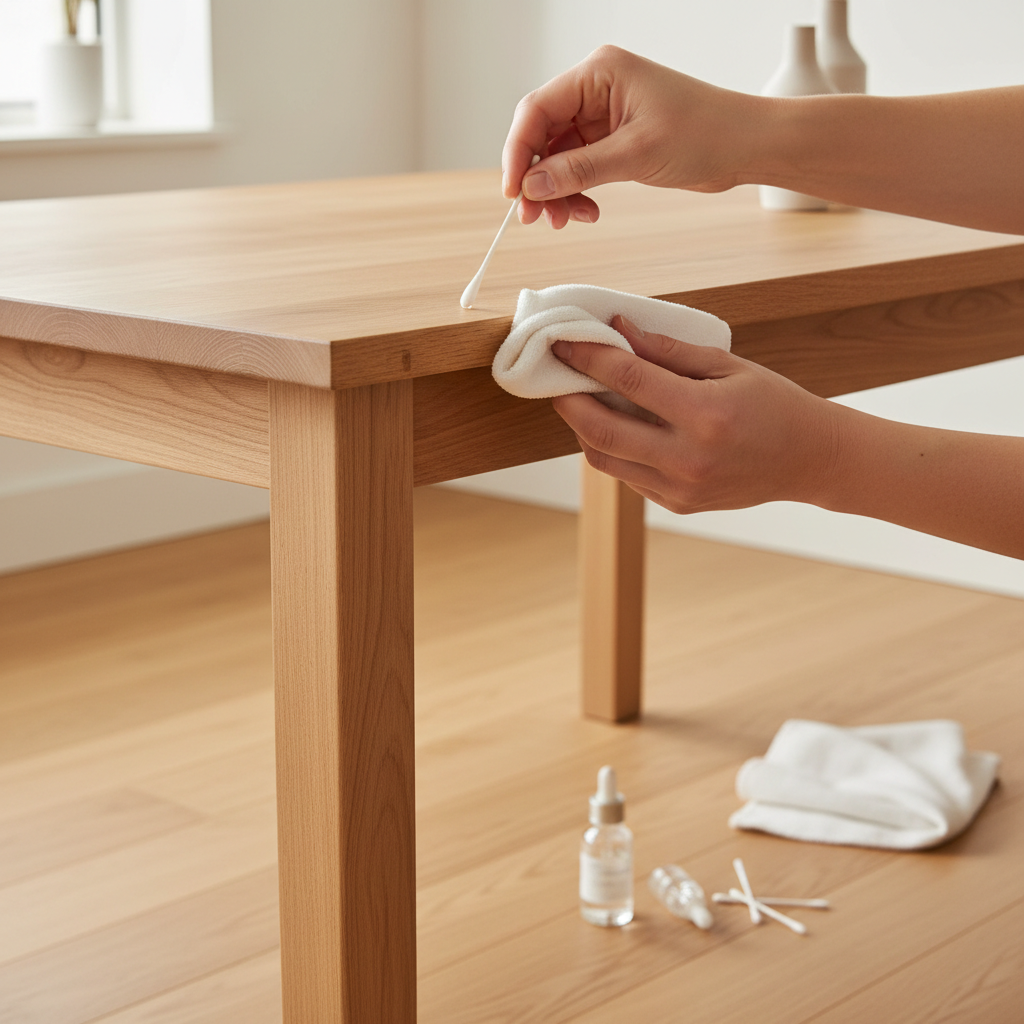
- Clean the area with a dry microfiber cloth to remove grit.
- Set a hair dryer to low or medium, keep it moving 6–10 inches away.
- Heat for 20–40 seconds, stop, check, repeat in short cycles.
- When the haze fades, apply a small amount of quality furniture polish, buff lightly.
Why this works: gentle heat can help moisture escape the finish. What you’re avoiding is overheating, which can soften some finishes and leave a dull patch.
Method B: iron and cotton cloth (only if you’re careful)
- Use a plain cotton t-shirt or thin towel, no texture that can imprint.
- Set iron to low, no steam.
- Press for 2–4 seconds, lift, check, repeat.
This is effective on some cloudy rings, but it’s also the fastest way to create a bigger problem if you linger too long, so treat it as a cautious option, not a power move.
Method C: mild abrasive polish (micro-level leveling)
- Choose a non-gel, non-gritty polish designed for wood finishes.
- Rub gently with the grain using a soft cloth, short sessions, check progress often.
If you see color transfer on your cloth or the surface gets tacky, stop and reassess. That may indicate a more delicate finish than you thought.
Step-by-step: treat dark water marks (stains in the wood)
Dark rings often mean the water got past the protective layer, so “warming it out” usually won’t do much. You’re now in stain-correction territory, and it’s worth going slow.
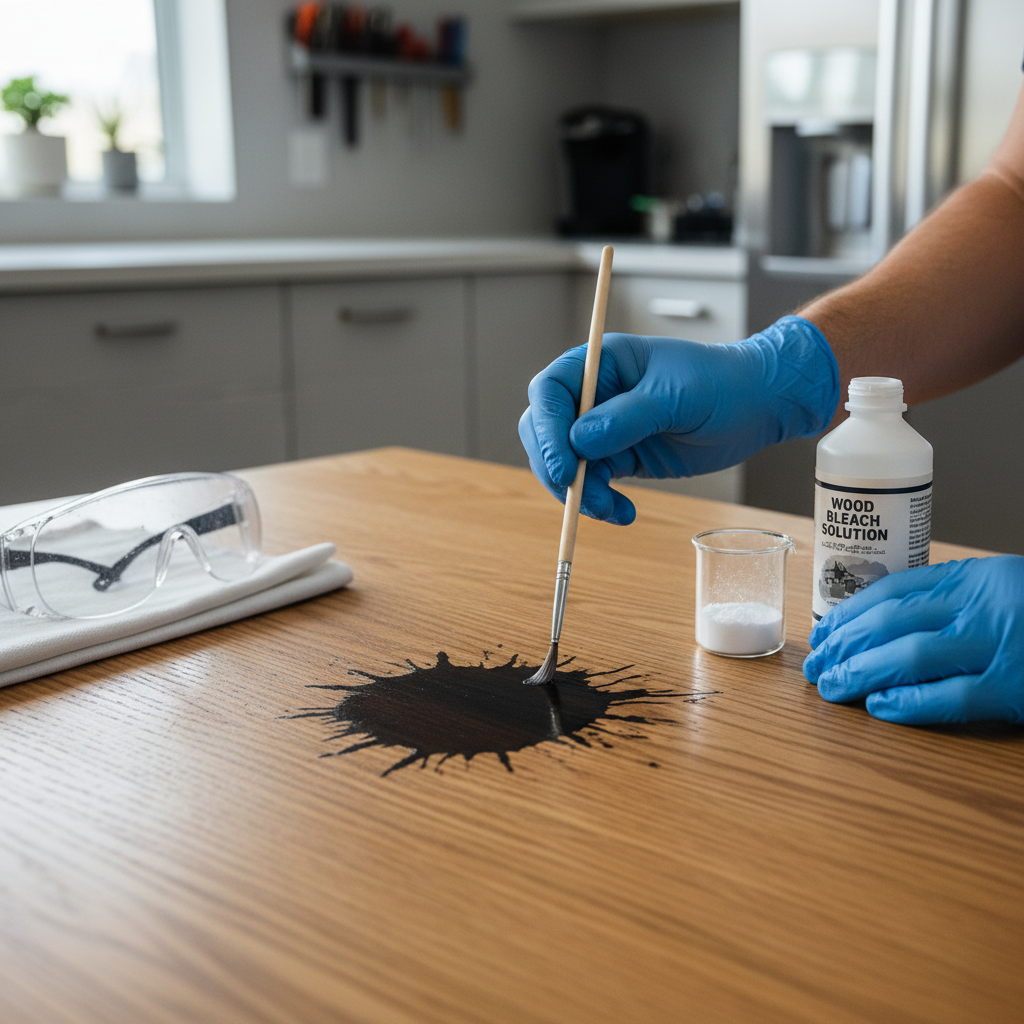
Option A: oxalic acid wood bleach (common for black water stains)
Oxalic acid is widely used by woodworkers to lighten iron/tannin discoloration. It’s a chemical, so treat it with respect.
- Ventilate well, wear gloves and eye protection, keep pets and kids away.
- Mix according to the product label, then apply only to the stained area with a small brush.
- Let it work, then neutralize/rinse as instructed, allow full drying.
- Evaluate color, repeat if needed, then plan for touch-up finish if the area looks raw.
According to the U.S. Consumer Product Safety Commission (CPSC), it’s important to read and follow label directions for household chemicals to reduce injury risk. If that sounds obvious, it is, but people skip it when they’re frustrated.
Option B: spot sanding and refinish touch-up (when the finish failed)
- Only after the area is fully dry, use very fine sandpaper (often 320–600 grit) very lightly with the grain.
- Feather the edges so you don’t create a sharp “repair circle.”
- Apply a matching finish or wipe-on protective coat, then buff once cured.
This step is where results vary by product and finish type. If you can’t match sheen or color, it may be a sign you’re heading toward a full top refinish for that surface.
Practical workflow: the “least aggressive first” checklist
If you want a simple path that fits most homes, use this order. It keeps you from escalating too fast.
- Dry time: if the mark is fresh, wait 24 hours before chemicals. Some haze improves on its own.
- Gentle heat: hair dryer in short cycles for white marks.
- Polish: light buffing to restore gloss once the haze fades.
- Targeted chemical: only for dark stains, and only spot-applied.
- Light abrasion: only when texture is raised or finish is uneven.
- Protect: add a protective coat or wax appropriate for your finish.
Keep notes as you go, even quick ones. If you end up calling a pro, being able to say what you tried prevents repeat work and helps them choose a safer approach.
Common mistakes that make water marks worse
- Rubbing too hard, too long: friction heat and abrasion can create a dull “halo” bigger than the ring.
- Jumping to mayonnaise or cooking oils: these can temporarily darken the area and hide haze, but may leave residue that attracts dust and complicates refinishing.
- Using magic erasers on glossy finishes: they’re micro-abrasive, which can knock down sheen fast.
- Mixing random cleaners: if the finish softens or turns cloudy, you’re now troubleshooting two issues.
- Ignoring the cause: if condensation keeps happening, the ring returns, even after a successful fix.
If you’re frequently battling rings, add coasters, felt pads under planters, and a tray under humidifiers. Not glamorous, but it’s the part that sticks.
When it’s time to call a professional (and what to ask)
DIY works well for many white rings, but there are clear moments to stop. Consider professional help if:
- The piece is antique, high-value, or has sentimental value you can’t replace.
- The stain is large, very dark, or spreads through veneer edges.
- You suspect veneer and you’re worried sanding will cut through.
- The finish turns sticky, wrinkles, or peels after your first attempt.
Good questions to ask a furniture repair tech or refinisher: what finish is likely on this piece, whether the repair can be blended without full refinishing, and what sheen match they can realistically achieve. The honest answers here save money.
Key takeaways (save this before you start)
- White marks are often moisture in the finish, gentle heat and light polishing usually have the best risk-to-reward.
- Dark stains tend to be in the wood, spot chemical treatment may help, but refinishing becomes more likely.
- Spot test every method, and stop if the surface softens or color transfers.
- Prevent repeat rings with coasters, mats, and keeping hot mugs off bare wood.
Conclusion
If you came here searching how to remove water marks from wood furniture, the most useful mindset is “identify, then act.” White haze usually responds to controlled heat and a careful buff, dark stains call for targeted stain correction and sometimes finish work.
Pick one low-risk method, test it in an inconspicuous area, then scale up only if the finish behaves. If the table is valuable or the stain is stubborn and spreading, getting a refinisher involved can be the cheaper choice compared with an accidental DIY refinish.
FAQ
How do I know if a water mark is in the finish or in the wood?
White, cloudy haze usually sits in the finish layer, while brown or black discoloration often means the moisture reached the wood. If you feel raised grain, it’s more than surface haze.
Can I use vinegar to remove water rings on wood?
Some people try diluted vinegar, but results vary a lot by finish type, and acids can dull certain coatings. If you try it, spot test first and avoid soaking the area.
Does mayonnaise really remove water stains from wood furniture?
It can sometimes mask a white ring by changing how light reflects, but it may leave oily residue. If you use any oily product, keep it minimal and clean thoroughly afterward.
What’s the safest way to remove white water marks quickly?
A hair dryer on low or medium, kept moving, is usually a reasonable first attempt. It’s controllable, and you can stop the moment the haze starts fading.
Will baking soda scratch a wood table finish?
It can. Baking soda is mildly abrasive, and on glossy finishes that can show up as a dull patch. If you want a polishing approach, choose a product made for furniture finishes.
Why did the ring come back after I fixed it?
Often the moisture source never changed, like condensation from cold drinks or a plant pot that sweats. Sometimes the finish is thin in that area, so it re-absorbs moisture more easily.
What if my furniture is veneer?
Be extra cautious with sanding and heavy abrasion because veneer is thin. If the stain is dark and broad, it’s worth consulting a pro before you remove material you can’t put back.
If you’re working on a larger tabletop, a delicate antique, or you just want a more predictable result, it can help to talk through your finish type and stain color with a furniture repair specialist before you commit to chemicals or sanding.