DIY macrame wall hanging ideas easy usually come down to two things: a small set of beginner-friendly knots, and a project plan that doesn’t spiral into “now I need a whole studio of supplies.” If you want something that looks polished without taking all weekend, you’re in the right place.
A lot of people quit macrame after the first try because the instructions feel like a different language, or the piece ends up uneven, twisty, and impossible to hang straight. That’s not a talent issue, it’s almost always setup and sequence.
Below, I’ll walk you through practical project ideas, a quick knot cheat sheet, and the little process tweaks that make your wall hanging look intentional. You’ll also get a simple table to match ideas with time, skill level, and materials so you can pick one and actually finish it.
What “easy” macrame really means (so you pick the right project)
“Easy” in macrame isn’t about tiny projects only, it’s about repeating knots and predictable shaping. Many beginners do best with patterns that repeat the same knot across the row, rather than switching techniques every few inches.
When you browse DIY macrame wall hanging ideas easy on Pinterest, a lot of the photos hide the hard parts, like tension control, keeping cords the same length, and finishing ends neatly. Those three details matter more than fancy knots.
- Easy pattern: mostly square knots or double half hitch, repeated.
- Easy build: minimal measuring, generous cord length, no micro-precision.
- Easy finish: a fringe you can trim, not intricate woven shapes.
Key takeaway: choose a design with repetition, then spend your effort on clean spacing and even tension.
Supplies you actually need (and what’s optional)
You can start with a short list and still get a piece that looks giftable. If you’re buying supplies in the US, you’ll usually find macrame cord at craft stores, online marketplaces, or home decor shops that stock DIY kits.
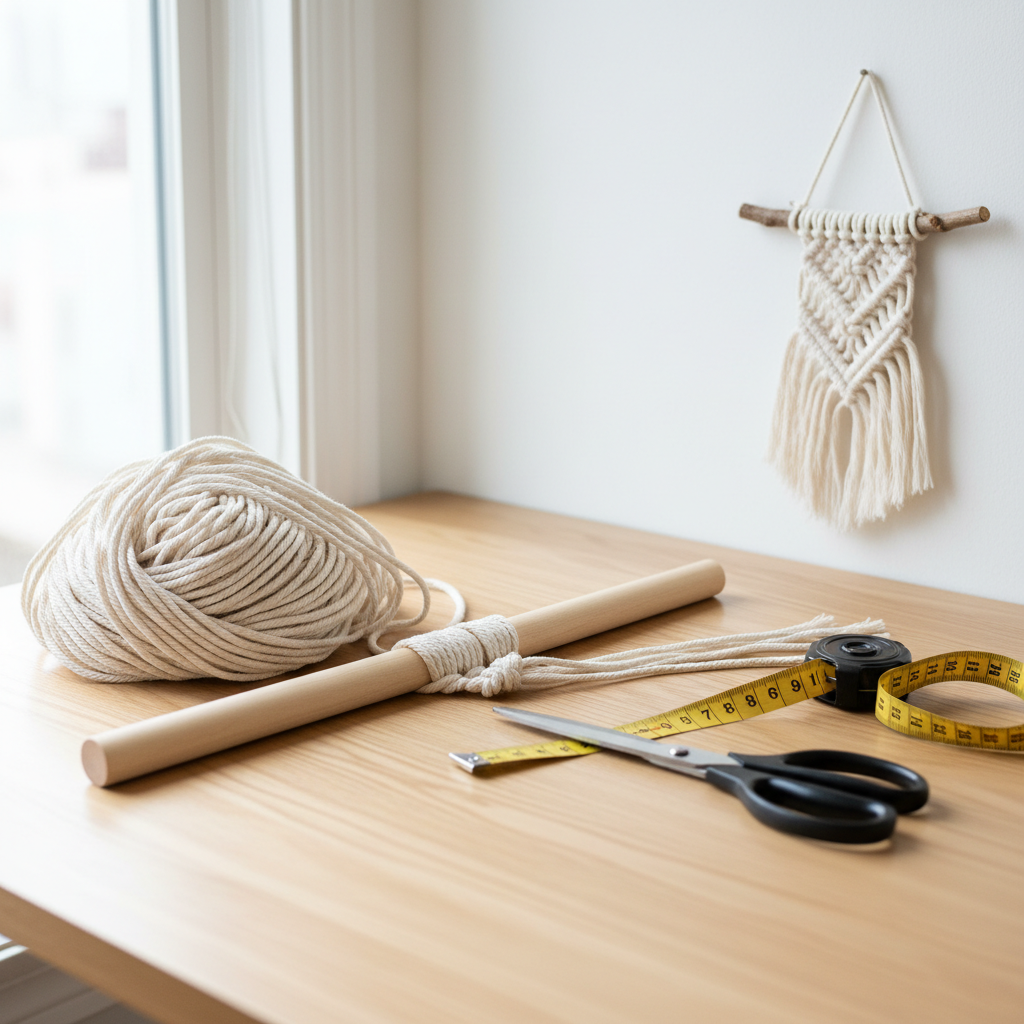
Beginner supply list
- Cotton macrame cord (3mm–5mm): thick enough to see knots clearly, forgiving to work with.
- Dowel, driftwood, or metal ring: pick the hanging base that matches your style.
- Scissors: sharp matters, frayed cuts make finishing harder.
- Measuring tape and masking tape: for marking center points, holding bundles in place.
Nice-to-have tools
- Comb (or pet brush) for fluffy fringe.
- Fabric stiffener or diluted glue for keeping fringe shape, test on scraps first.
- Clips to hold sections while you work.
Safety note: if you use stiffeners, adhesives, or sprays indoors, ventilation helps and labels matter. According to U.S. Consumer Product Safety Commission, always follow product instructions and keep certain chemicals away from kids and pets.
Easy knot cheat sheet (the only ones you need for most wall hangings)
If you learn these, most DIY macrame wall hanging ideas easy stop feeling mysterious. A pattern might list 10 knots, but beginners typically rely on 3–4 and repeat them.
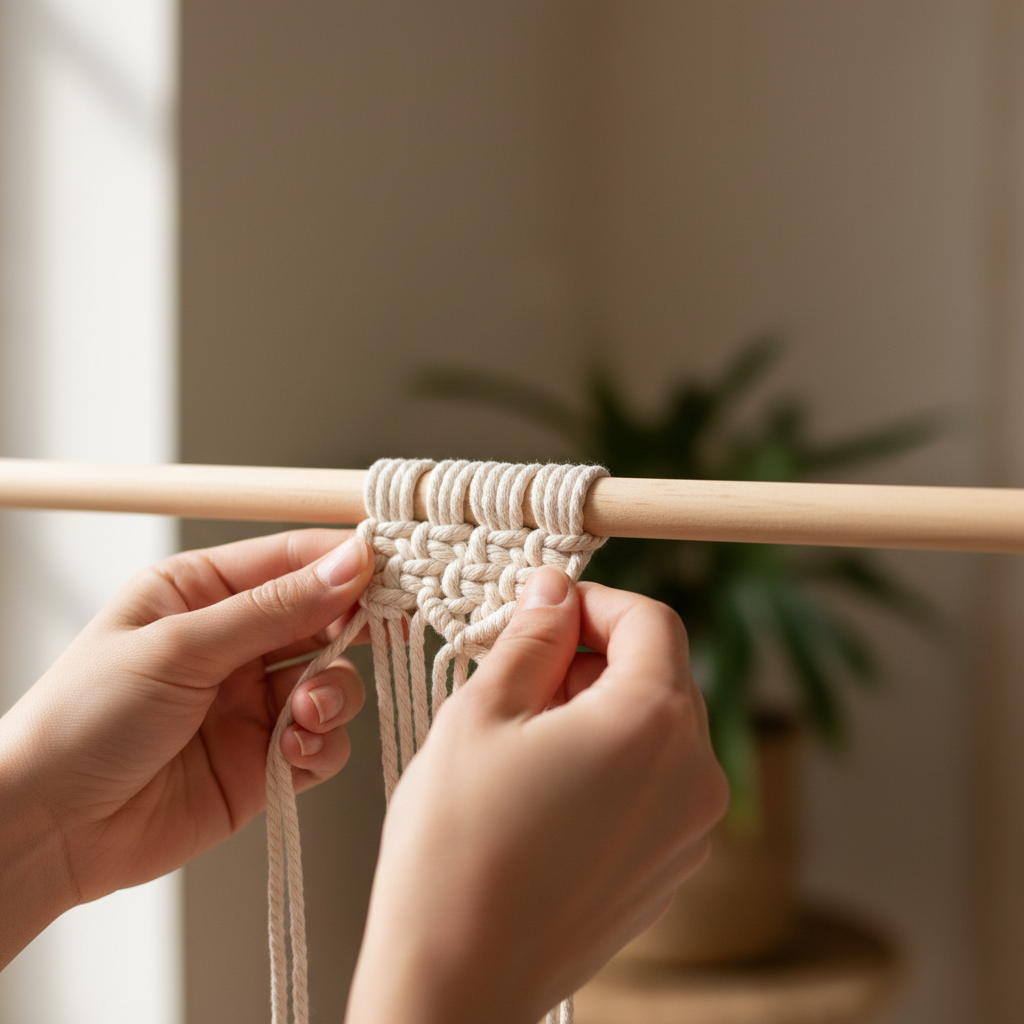
- Lark’s head knot: how you attach cords to your dowel.
- Square knot: the classic “checker” knot, clean and symmetrical.
- Spiral knot: basically repeated half-square knots, looks fancy, feels easy.
- Double half hitch: makes diagonal lines and borders, great for simple “V” designs.
Small tip that saves frustration: when your piece starts to look uneven, don’t “pull harder” randomly. Instead, loosen the last two knots, then re-tighten slowly with the same tension on both sides.
Pick-your-project table: easy wall hanging ideas by time and look
If you’re deciding what to make tonight, use this table as a quick filter. Times assume beginner pace with basic knots.
| Idea | Skill | Time | Best for | Core knots |
|---|---|---|---|---|
| Mini fringe banner (8–12 in) | Beginner | 30–60 min | Testing cord thickness, learning tension | Lark’s head, square |
| Simple “V” wall hanging | Beginner | 1–2 hrs | Modern decor, clean lines | Double half hitch |
| Alternating square-knot panel | Beginner+ | 2–4 hrs | Textured centerpiece above a bed/desk | Square |
| Spiral rope + fringe | Beginner | 1–2 hrs | Boho look, very forgiving | Spiral |
| Two-tone dipped fringe | Beginner+ | 2–3 hrs | Statement fringe, color pop | Square, trimming |
Step-by-step: 3 easy designs you can finish without stress
Rather than dumping a dozen patterns on you, here are three reliable builds. They’re “easy” for the right reasons: repetition, easy measuring, and a finish you can correct with trimming.
1) Mini fringe banner (fast, confidence-boosting)
This is the project I recommend when you want quick wins. It also makes a great test piece for cord thickness and how your knots sit.
- Cut 10–16 cords, each about 4–6x the final length you want.
- Attach all cords to the dowel with lark’s head knots, keep the center aligned.
- Create 2–4 rows of square knots, spacing evenly.
- Trim fringe into a shallow “V” or straight line, then comb lightly.
2) Simple “V” wall hanging (clean lines, modern look)
This one looks more “designed” than it feels to make, which is exactly what beginners need.
- Mount the dowel so it stays level, even a closet rod works.
- Attach cords, then choose a center point.
- Use double half hitch knots to create two diagonals that meet in a V.
- Finish with a straight row of knots, then trim the fringe to mirror the V.
If your diagonal line waves, it usually means your “guide cord” tension changes mid-row. Slow down, keep that guide cord steady, then snug each hitch the same way.
3) Alternating square-knot panel (classic texture)
If you like that chunky, woven look, this is a safe bet. You can also scale it wider just by adding cords.
- Attach an even number of cords, mark the center with tape.
- Make a full row of square knots across.
- Next row: offset the knots (start using cords 3–6), so the pattern staggers.
- Repeat until you like the height, then finish with fringe and trim.
Quick self-check: why your wall hanging looks “off”
Before you start over, run this quick checklist. Most fixes happen in the last 10 minutes, not the first hour.
- Uneven sides: your center mark moved, or you attached cords in the wrong order.
- Twisting knots: the same half-knot repeated by accident, creating a spiral.
- Gaps you didn’t plan: tension inconsistency, often from pulling one side tighter.
- Fringe won’t lay flat: cord twist or rough trimming, comb and re-trim slowly.
- Dowel not level: hanging hardware, not your knots, is the problem.
Key takeaway: don’t judge the piece until it’s off the rod, gently shaken out, and trimmed with intention.
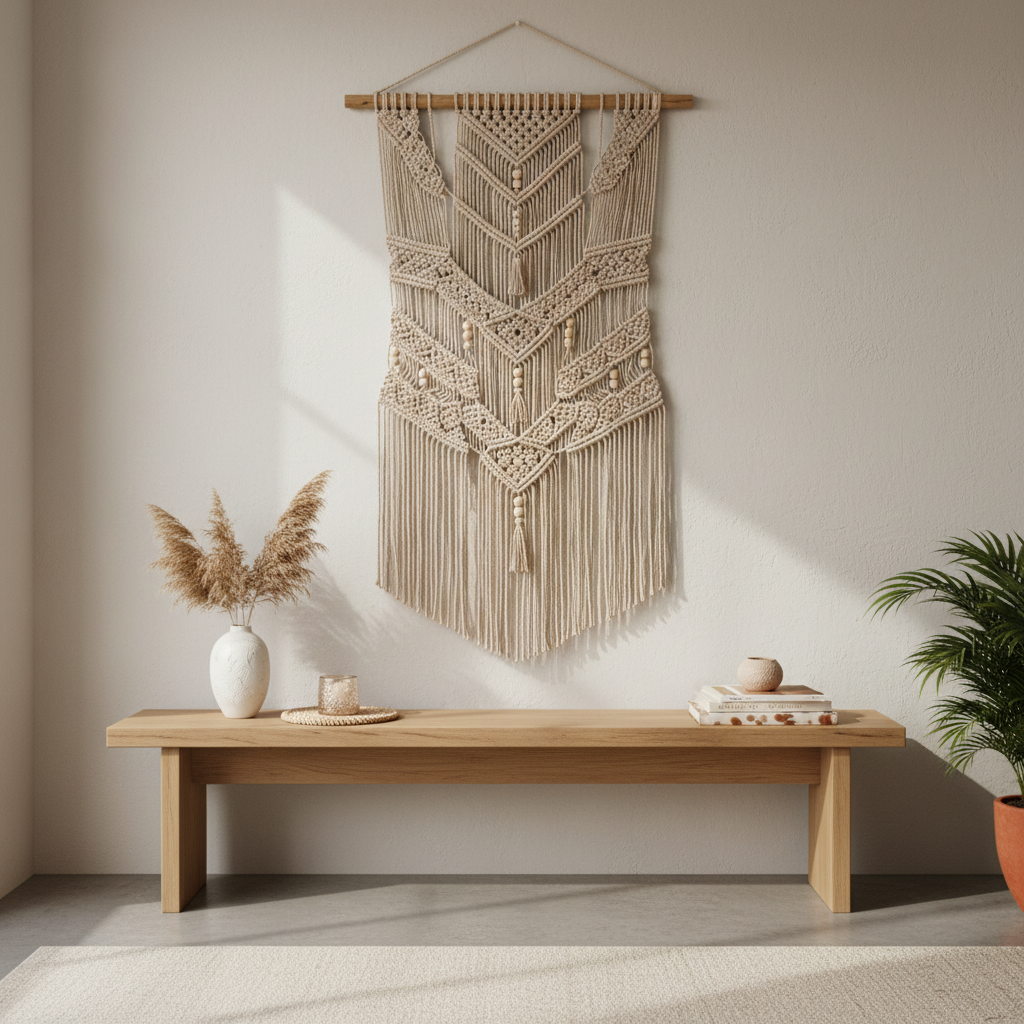
Finishing and hanging: the part that makes it look store-bought
A lot of DIY macrame wall hanging ideas easy look great in-progress, then fall apart visually at the finish. Clean edges and a straight hang change everything.
Finishing steps that work in real homes
- Trim in layers: cut less than you think, step back, then refine.
- Comb from the bottom up: reduces snagging and uneven fluff.
- Steam carefully: a handheld steamer can relax fringe, keep distance, test a scrap first.
- Hanging cord: use a simple loop that centers weight, or two-point hanging for wide pieces.
If you’re mounting into drywall and you’re unsure about anchors, it’s worth asking a hardware pro at your local store, wall type and weight matter and mistakes get annoying fast.
Common mistakes (and what to do instead)
- Cutting cords too short: when in doubt, go longer, extra fringe is easier than splicing.
- Buying super thin cord first: it’s harder to see mistakes, 3mm–5mm feels friendlier.
- Changing pattern midstream: finish a small piece first, experimentation goes better after.
- Over-tightening every knot: firm is good, strangled knots create puckering.
- Not securing your dowel: if the rod rolls, your tension never stays consistent.
Conclusion: a simple plan to finish your first wall hanging
If you want DIY macrame wall hanging ideas easy that don’t waste your time, pick one repeat-knot design, set up a stable hanging spot, and commit to a clean finish. That combo beats complicated patterns almost every time.
Action plan for tonight: choose the mini banner or simple V design, cut cords longer than you think, then focus on even tension and a careful trim. Once you finish one piece, the next one feels dramatically easier, and you’ll start noticing design details instead of fighting the basics.
FAQ
What size macrame cord is easiest for beginners?
Many beginners find 3mm to 5mm cotton cord easiest because the knots show clearly and the cord feels less “slippery” in your hands. Very thin cord can look delicate, but it magnifies small mistakes.
How much cord do I need for an easy macrame wall hanging?
It depends on width, knot density, and fringe length, but a practical rule is cutting strands about 4–6 times your target finished length. If you’re unsure, err longer, extra fringe is easy to trim.
Why are my square knots turning into a spiral?
You’re likely repeating the same half-knot direction instead of completing the full square knot. It’s common when you’re watching TV while knotting, which sounds relaxing until you spot the twist.
Can I make a wall hanging without a dowel?
Yes, a metal ring, a sturdy branch, or even a simple wooden slat can work. Just make sure it’s strong enough not to bend under tension, and that it hangs level.
How do I keep my diagonal lines straight with double half hitch knots?
Keep the guide cord tension consistent and snug each hitch the same way. If the line waves, it often helps to undo the last few knots and redo them slowly, rather than trying to “pull it straight” afterward.
Is it okay to use fabric stiffener on fringe?
Many crafters do, but results vary by product and cord type, and some stiffeners can discolor. Test on a scrap first, follow the label, and if you’re sensitive to odors, consider better ventilation or a different finish.
What’s the easiest way to make a macrame piece look more modern?
Choose a simple silhouette, keep spacing consistent, and trim fringe into a clean geometric shape. Neutral cord and a smooth dowel also push it toward modern rather than overly boho.
If you’re making your first piece and you’d rather skip supply guesswork, a beginner kit with pre-cut cords and a repeat-knot pattern can be a calmer starting point, especially when you just want a nice result on your wall without troubleshooting every step.