How to clean microfiber couch easily starts with one unglamorous step: reading the cleaning code tag, because microfiber can look the same but react very differently to water or solvent. If you skip that part, you can end up with rings, crunchy patches, or a couch that looks “cleaned” only in certain light.
The good news is microfiber is usually forgiving once you match the right method to the fabric code. You can remove most everyday stains, body oils, and pet smudges at home with a few basic supplies, plus a little patience while it dries.
If you’re mostly fighting dingy armrests, mystery spots, or that “flattened nap” look, this guide walks you through quick checks, the right cleaner for your tag, and a repeatable routine you can use between deeper cleanings.
Find your fabric code first (it changes everything)
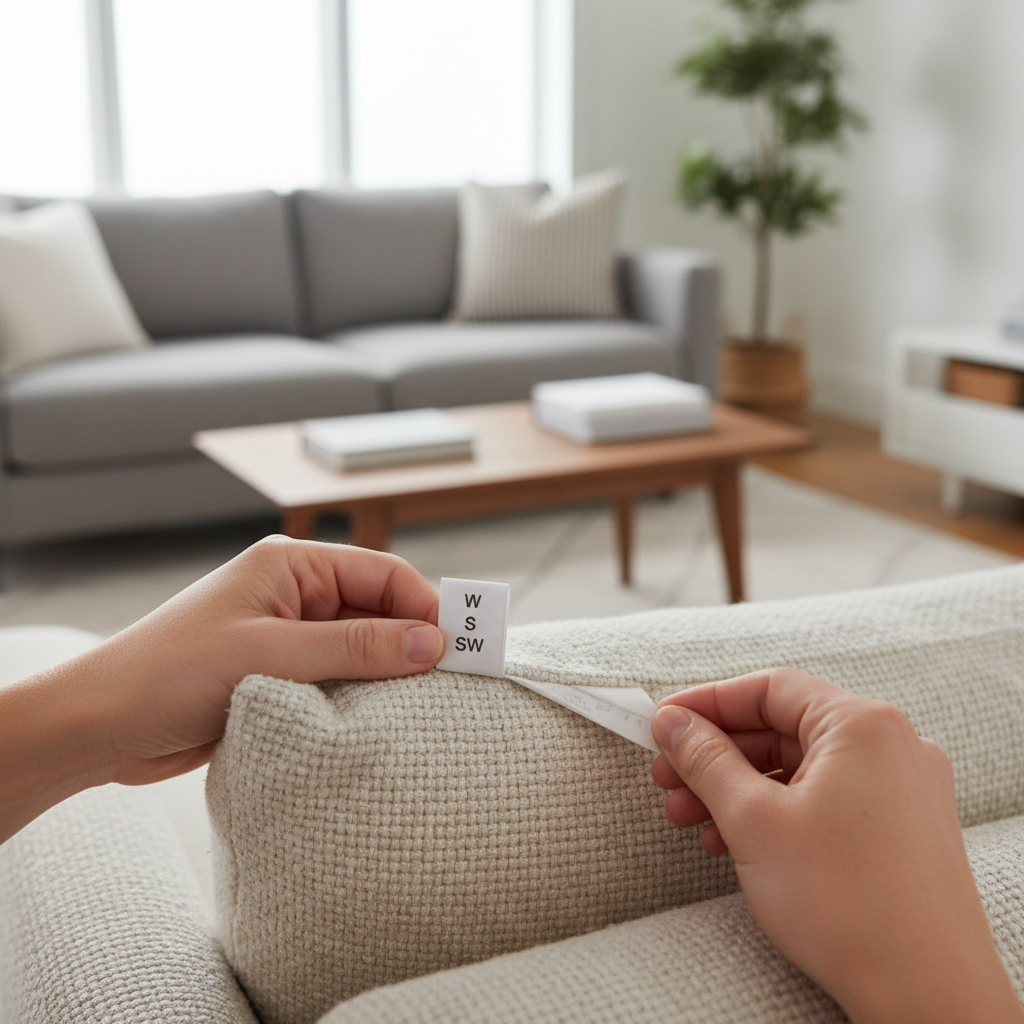
Most microfiber couches have a tag under a seat cushion or along the frame. You’re looking for a letter code that tells you what type of cleaner is generally considered safe.
- W: water-based cleaning (mild soap + water).
- S: solvent-based cleaning (often rubbing alcohol for DIY).
- SW or WS: either water-based or solvent-based, still spot-test.
- X: vacuum only, no water/solvent (often needs professional guidance).
According to the American Cleaning Institute, it’s smart to follow manufacturer care instructions and spot-test in an inconspicuous area before fully cleaning a surface. That advice matters with microfiber because texture changes can show up after drying even if the stain disappears.
Quick pre-clean checklist (so you don’t make it worse)
Before you mix anything, do a fast scan. This saves time and helps you choose the least aggressive option that still works.
- Is it a spot or overall grime? Spots can be targeted; overall grime often needs sectional cleaning panel by panel.
- Is the stain oily? Body oils and food grease usually need solvent or a degreasing step.
- Is there odor? Pet smells might need enzyme products labeled safe for upholstery, used carefully.
- Any color transfer risk? If you’ve got dark dye on light microfiber, use white cloths only.
Key point: microfiber shows water marks easily, so “more liquid” rarely equals “more clean.” Controlled moisture + thorough drying wins.
Tools and supplies (simple, but choose them on purpose)
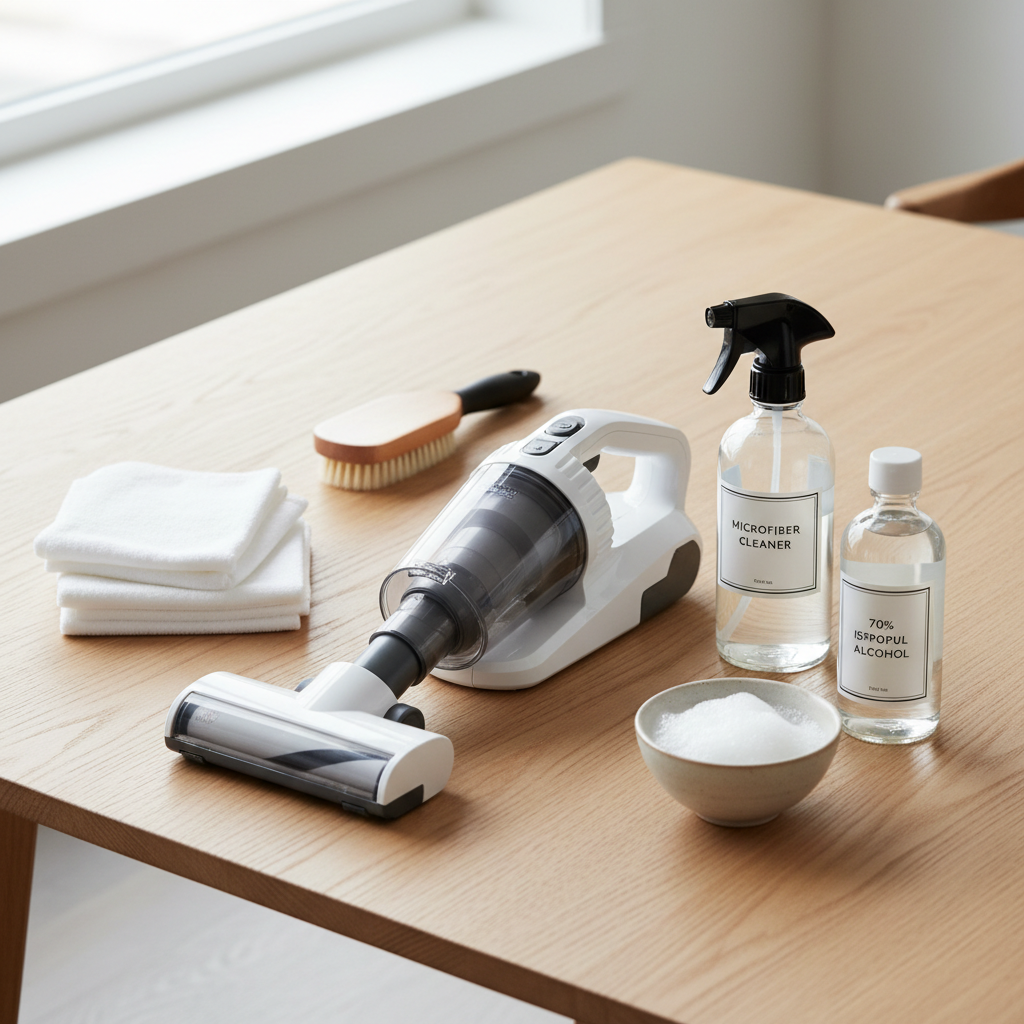
You don’t need a full detailing kit, but a few items make microfiber cleaning dramatically easier and more even.
- Vacuum with upholstery tool and crevice tool
- White microfiber cloths (or white cotton towels)
- Soft brush (upholstery brush or clean nylon bristle brush)
- Spray bottle
- For W/SW: mild dish soap, distilled water
- For S/SW: 70% isopropyl alcohol (common choice), optionally a solvent labeled for upholstery
- Baking soda (optional, for mild odor)
Step-by-step: how to clean microfiber couch easily (by code)
This is the part most people want, but it only works if you match the method to the tag and work in small sections so the fabric dries evenly.
Step 1: Vacuum like you mean it
Vacuum cushions, seams, and edges first. Microfiber holds dry grit that can turn into muddy streaks once you introduce moisture. Pay extra attention to armrests and headrest areas where body oils build up.
Step 2: Spot-test (don’t skip)
Pick a hidden area, apply your cleaner lightly, blot, let it dry, then check for discoloration or stiff texture. If the fabric changes, stop and switch approaches.
Method A: For “W” (water-safe) microfiber
- Mix 1–2 drops of mild dish soap into 2 cups of distilled water in a spray bottle.
- Lightly mist a small section. Aim for damp, not soaked.
- Blot with a white cloth. Don’t rub hard; it can mat the nap.
- Repeat until the stain lifts, then do a final pass with plain distilled water to reduce soap residue.
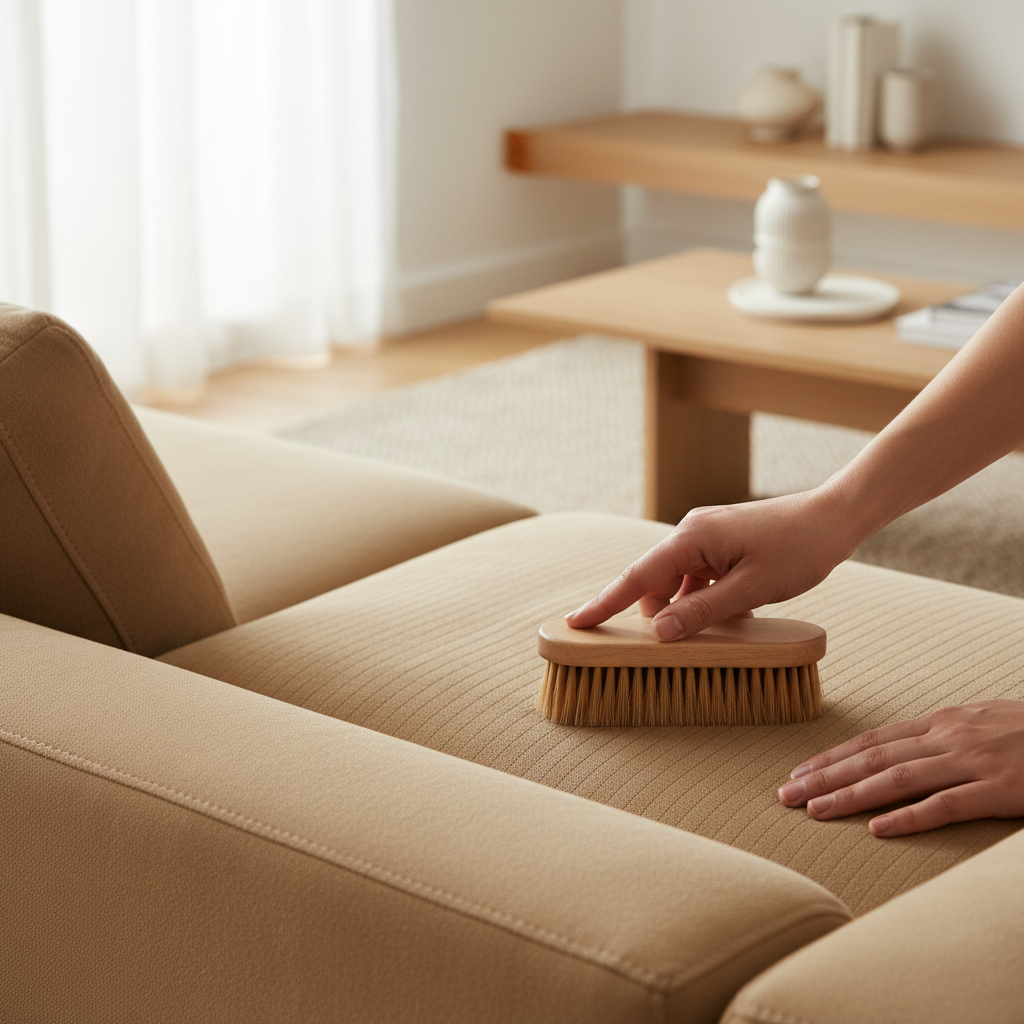
- Air dry, then brush the nap in one direction to restore texture.
Common win: distilled water helps reduce mineral rings that sometimes appear with tap water, especially in hard-water areas.
Method B: For “S” (solvent-only) microfiber
Many microfiber couches labeled “S” respond well to isopropyl alcohol because it evaporates fast, which often means fewer water-like rings. Still, you should test first.
- Pour 70% isopropyl alcohol into a spray bottle.
- Lightly mist the stained area.
- Blot with a clean white cloth, rotating to a fresh section as it picks up soil.
- Let it dry fully, then brush the fabric to lift the nap.
Safety note: alcohol is flammable and the smell can be strong, so ventilate well and keep it away from flames or heat sources.
Method C: For “SW/WS” (flexible) microfiber
If your tag allows both, you can choose based on the stain type: water-based for food spills and general grime, solvent for oily marks. If you’re unsure, start gentler and scale up.
- Start with the W method on a small spot.
- If the mark looks oily or keeps spreading, switch to the S method on the next test area.
Method D: For “X” (vacuum-only)
If your couch is coded X, your safest DIY move is dry cleaning approaches: thorough vacuuming, gentle brushing, and possibly a dry upholstery product specifically labeled for that fabric. Many people choose to consult a professional cleaner here because the wrong liquid can leave permanent marks.
Stain cheat sheet (what works for the real-life messes)
This table won’t replace the care tag, but it helps you pick a direction fast. When in doubt, treat the smallest area possible and keep moisture low.
| Stain type | What it usually is | Approach that often helps | What to avoid |
|---|---|---|---|
| Body oils / dark armrests | Skin oils + dust | S method (alcohol) or degreasing pre-blot for SW | Over-wetting, heavy soap residue |
| Food spills | Sugars, sauces | W method, blot repeatedly, then plain water rinse | Scrubbing aggressively |
| Pet accidents (after cleanup) | Odor-causing residue | Enzyme upholstery cleaner (tag-compatible), careful drying | Ammonia-based products in some cases |
| Ink | Dye | S method spot treatment, gentle blotting | Rubbing, spreading outward |
| Water rings | Uneven wetting/minerals | Evenly dampen panel (tag-compatible), then dry evenly and brush | Spot-wetting only the ring |
How to avoid streaks, rings, and crunchy texture
Most microfiber “fails” aren’t about the cleaner, they’re about uneven drying or leftover residue. A few small habits make a big difference.
- Work in sections, and feather the edges so you don’t leave a hard boundary line.
- Blot more than you rub. Rubbing grinds soil deeper and mats the fibers.
- Use minimal product, then do a light “rinse” pass if you used soap (W code).
- Dry fast and evenly: a fan helps, and so does keeping the room ventilated.
- Brush after drying to reset the nap, especially on high-touch areas.
If your couch feels stiff after it dries, that often points to too much soap or product. A light re-clean with distilled water (for W/SW) or a lighter alcohol mist (for S/SW) plus brushing can soften it.
When DIY is enough, and when to call a pro
DIY is usually fine for fresh spills, light staining, and general dinginess. But there are a few situations where professional help saves time and prevents damage.
- X-coded fabric where any liquid could mark the surface.
- Large, old stains that have spread into cushion cores.
- Strong odors that persist after basic cleaning, which may indicate deeper contamination.
- Color loss or shiny patches from prior over-scrubbing, where restoration needs a more careful approach.
According to the U.S. Consumer Product Safety Commission, you should follow label directions for household chemicals and ensure good ventilation. If you have asthma, chemical sensitivities, or concerns about indoor air, it may be worth asking a professional for a low-odor cleaning plan.
Key takeaways (keep this part for next time)
- Check the tag (W, S, SW, X) before you start.
- Vacuum first so dirt doesn’t turn into streaks.
- Use less liquid than you think you need, and dry evenly.
- Brush after drying to restore the soft, uniform look.
If you want one simple routine to remember, it’s this: vacuum, spot-test, clean small sections, dry fast, brush. That’s the backbone of how to clean microfiber couch easily without chasing new marks around the cushions.
FAQ
How do I clean a microfiber couch without leaving water marks?
Keep moisture low, blend edges outward, and dry the whole section evenly with airflow. If your tag allows water, distilled water helps reduce mineral rings.
Can I use Dawn dish soap on microfiber upholstery?
On W or SW fabrics, a tiny amount of mild dish soap is commonly used. The mistake is using too much, because residue can leave stiff spots and attract dirt faster.
Is rubbing alcohol safe for microfiber couches?
It’s often used for S-coded microfiber, but you still need a spot-test. Ventilation matters, and you should keep alcohol away from flames or high heat.
What’s the fastest way to remove stains from a microfiber couch?
Fast usually means “fast drying,” not “hard scrubbing.” Blot immediately, use the correct tag-safe cleaner, and run a fan so the fabric dries uniformly.
How do I clean greasy armrests on a microfiber couch?
Those dark areas are typically oil plus dust. For S or SW fabrics, a light alcohol mist and repeated blotting often helps, then brush once fully dry to lift the nap.
Can I use a steam cleaner on microfiber?
Sometimes, but it depends on the couch code and construction. Steam adds heat and moisture, which can leave marks or loosen adhesives in some furniture, so it’s safer to follow the tag or consult the manufacturer.
Why does microfiber feel crunchy after cleaning?
Most often it’s leftover soap/product or over-wetting that dries unevenly. A light re-clean with less solution, thorough drying, and brushing usually improves the feel.
Practical next step
If you’re staring at a couch that “never looks fully clean,” take two minutes to find the tag and do a quick spot-test today, then clean one cushion panel as a trial run. If the result looks even in daylight and the nap brushes back nicely, you’ve basically built your own repeatable at-home system.